Azure Portal Documentation.
How to use keyboard shortcuts in the Azure portal.
- Create a Free Azure account – click here
- Create your first Resource Group on Azure portal
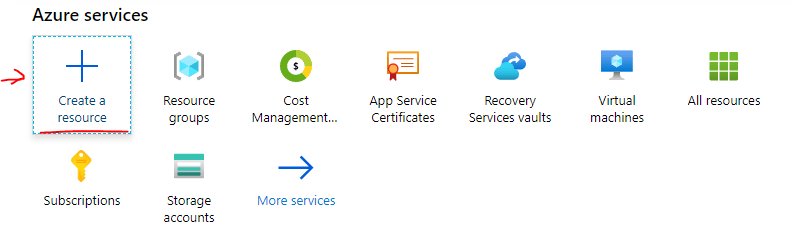
- On Azure Portal click on Create a Resource
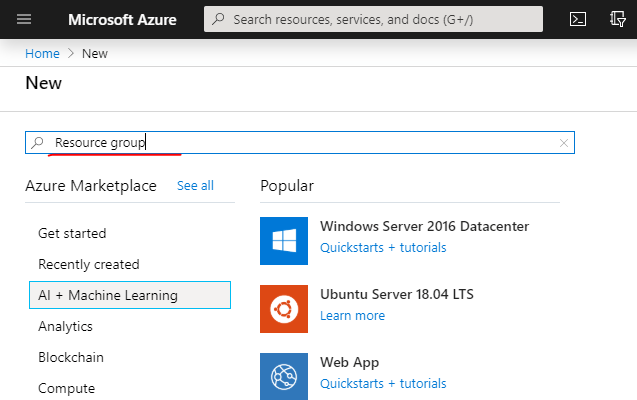
- Search for Resource Group on Azure marketplace and select it
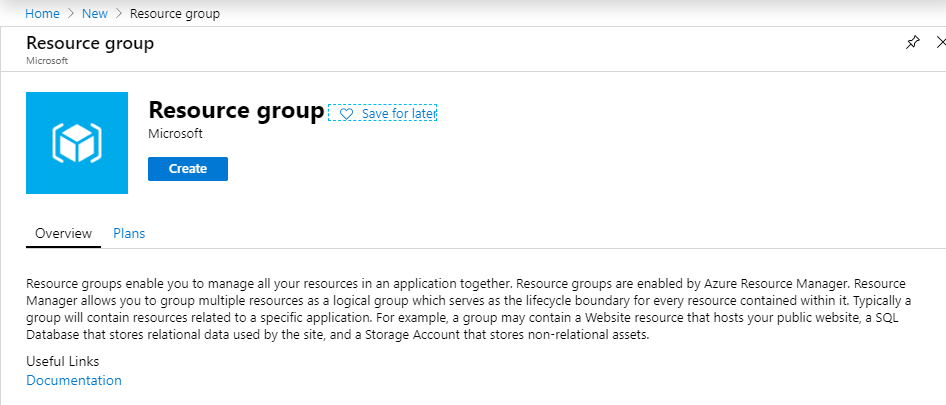
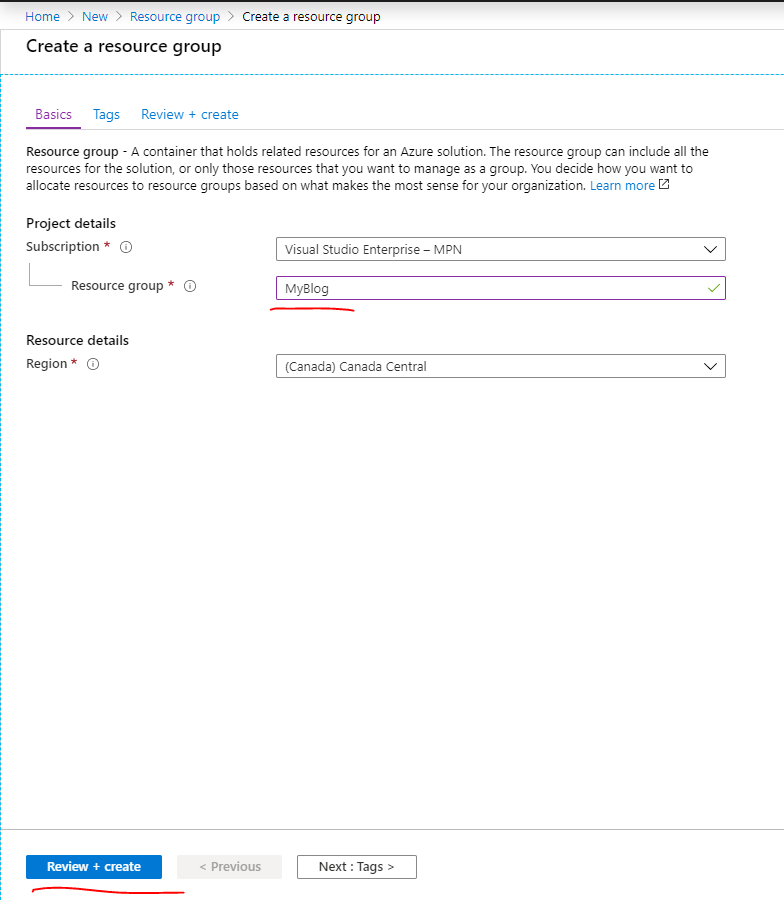
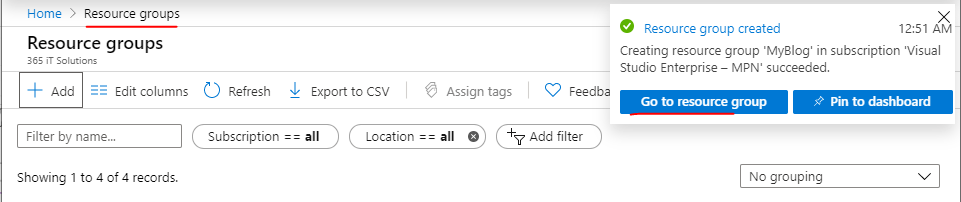
- Name the Resource “MyBlog” and click create
- Wait until the Resource is created then Access it from the Home Button
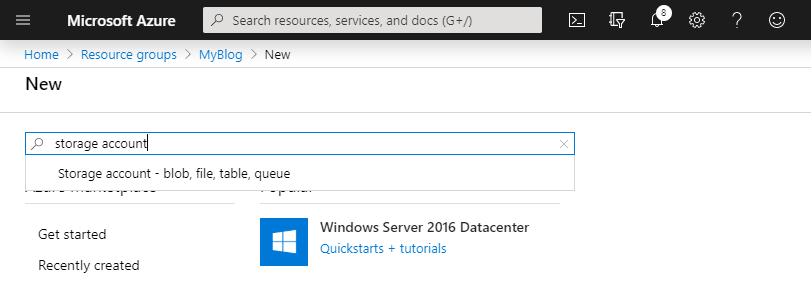
- On Azure Portal click on Create a Resource
- Create your Azure Storage Account
- go the Azure marketplace and search for “Storage Account” and select it from drop down menu
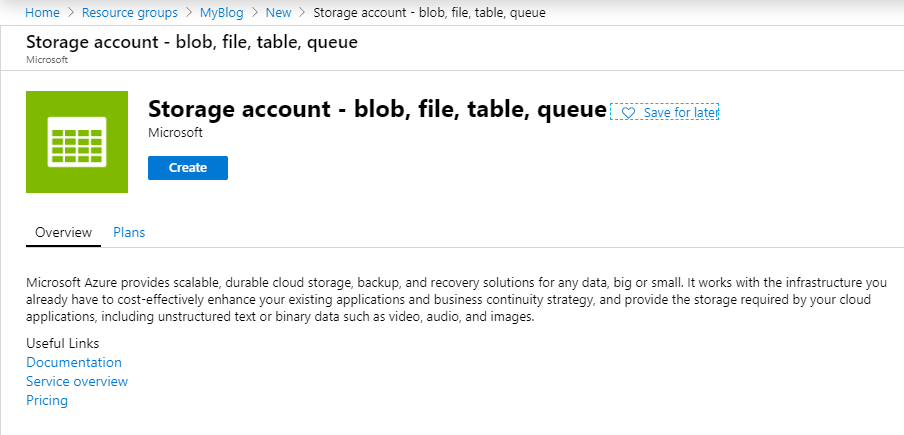
- Click create on the next screen
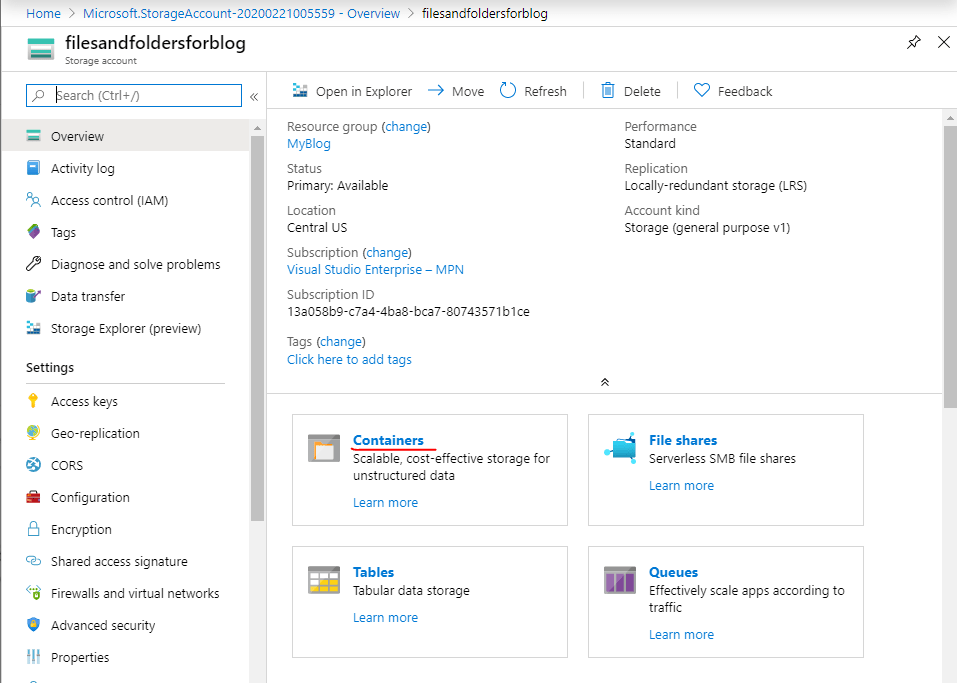
- Give a name for the storage account i.e.: fielandfoldersblog , define Account kind: Storage (general purpose v1) and Replication: LRS and click on review-create
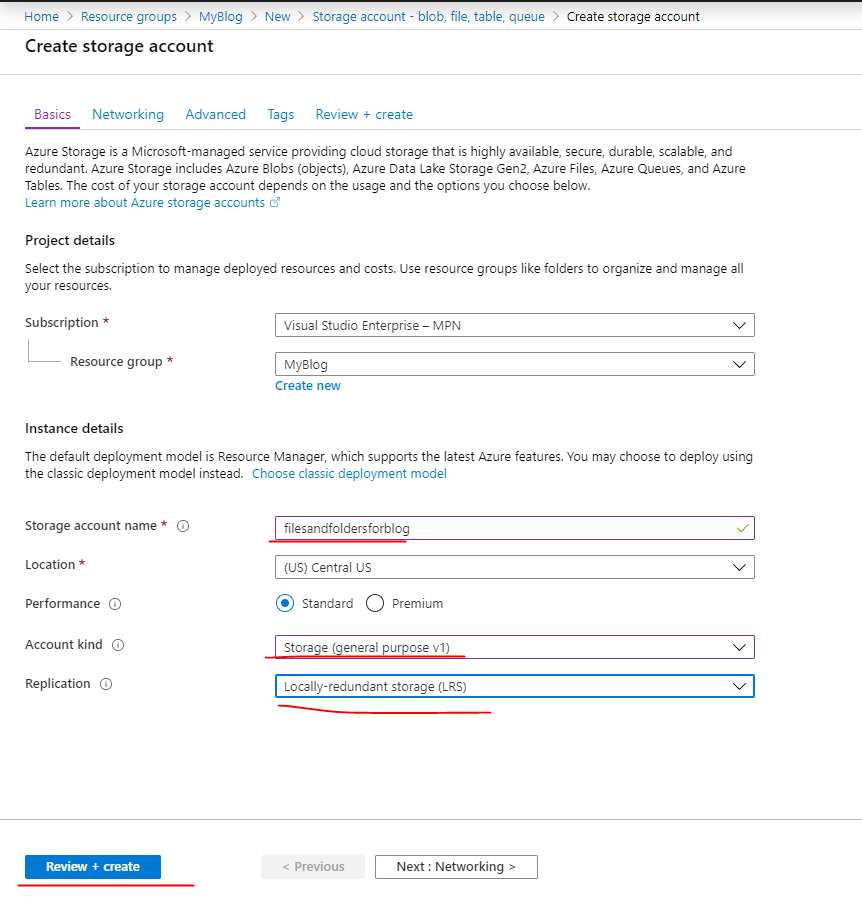
- On Review + Create, select Create and wait until this process is complete

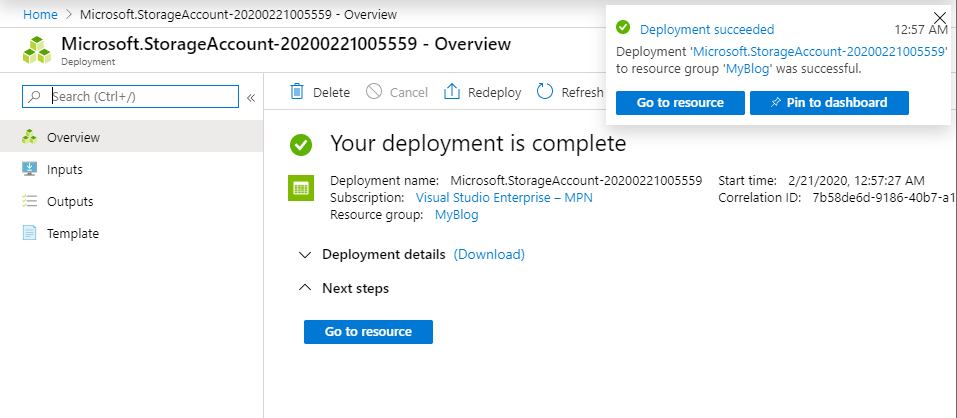
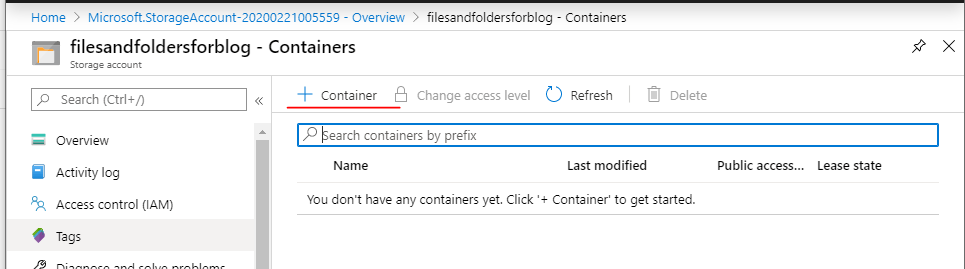
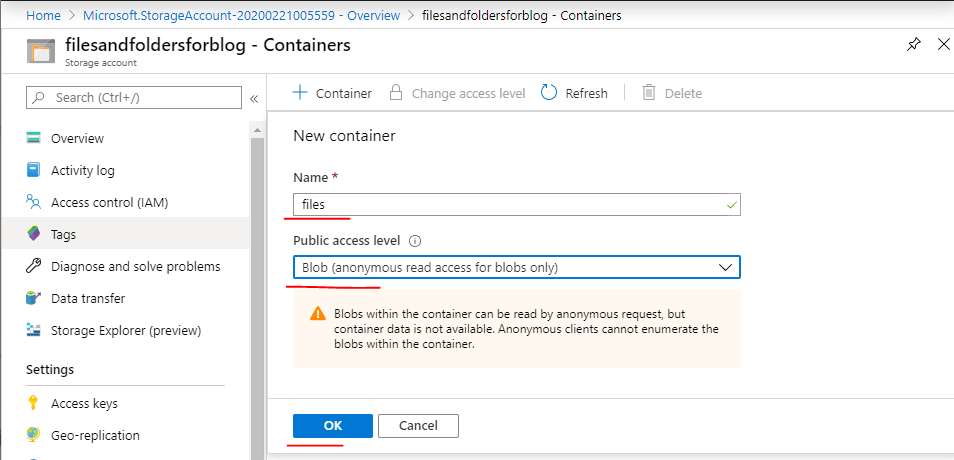
- Go to the Storage Account resource and select the option “Containers” on main screen
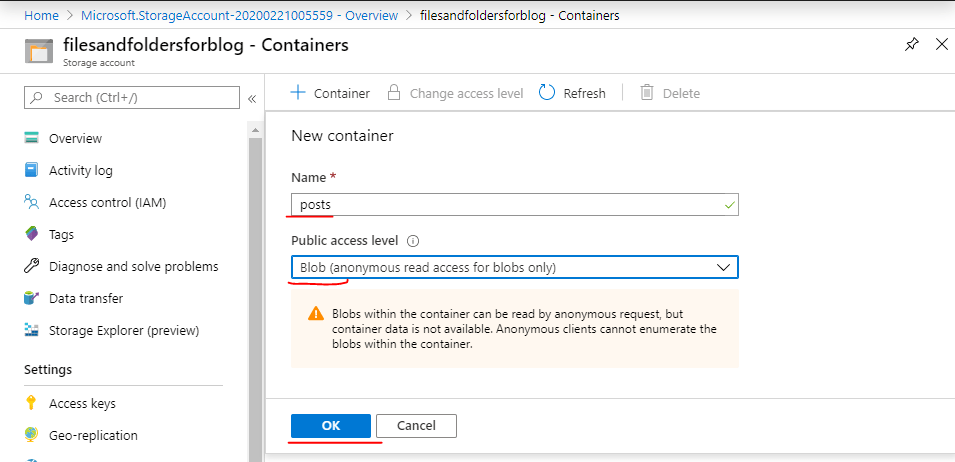
- click on “+” Container to add a container – please add 02 containers (one for files one for posts)
- go the Azure marketplace and search for “Storage Account” and select it from drop down menu
Great thanks,
I hope you like this post.